dir <- "./hello-world-1"
if (!dir.exists(dir)) {
  dir.create(dir)
}
file <- file.path(dir, "README")
if (!file.exists(file)) {
  writeLines("hello world", con = file)
}5 Version Control with Git
There is an entire textbook on how to use git and GitHub with R, Happy Git and Github for the UseR [1]. This chapter will liberally use chunks of that textbook, and rather than reproduce them here, I will simply link to the relevant sections.
Objectives
- Install git
- Create a github account
- Understand why version control is useful and what problems it can solve
- Understand the distinction between git and github, and what each is used for
- Use version control to track changes to a document (git add, commit, push, pull)
5.1 What is Version Control ?
Note
Most of this section is either heavily inspired by Happy Git and Github for the UseR [1] or directly links to that book. There’s no sense trying to repeat something that’s pretty close to perfect.
Git is a version control system - a structured way for tracking changes to files over the course of a project that may also make it easy to have multiple people working on the same files at the same time.
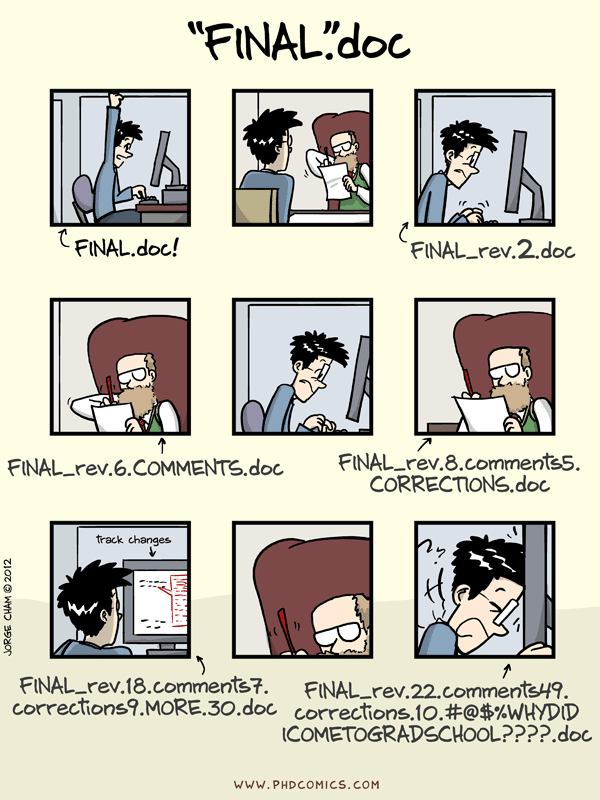
Git manages a collection of files in a structured way - rather like “track changes” in Microsoft Word or version history in Dropbox, but much more powerful, because the entire version history is (easily1) retrievable2.
If you are working alone, you will benefit from adopting version control because it will remove the need to add _final.R or _production.py to the end of your file names. However, most of us work in collaboration with other people (or will have to work with others eventually), so one of the goals of this book is to teach you how to use git because it is a useful tool that will make you a better collaborator.
In data science programming, we use git for a similar, but slightly different purpose. We use it to keep track of changes not only to code files, but to data files, figures, reports, and other essential bits of information.
Git itself is nice enough, but where git really becomes amazing is when you combine it with a service like GitHub (or self-hosted options, like GitLab or Gogs) - an online service that makes it easy to use git across many computers, share information with collaborators, publish to the web, and more. Git is great, but services like GitHub which enable collaboration are indispensable for modern statistical computing and open-source software development.
5.1.1 Git Basics
Git tracks changes to each file that it is told to monitor, and as the files change, you provide short labels describing what the changes were and why they exist (called “commits”). The log of these changes (along with the file history) is called your git commit history.
When writing papers, this means you can cut material out freely, so long as the paper is being tracked by git - you can always go back and get that paragraph you cut out (if you need to). You also don’t have to rename files with different version numbers - you can confidently save over your old files, so long as you remember to commit frequently. There is even a way to “tag” certain commits with versions, so that you can keep track of which version of the paper was e.g. submitted to the journal, and can revisit that when you make revisions to show what revisions were made.
Essential Reading: Git
The git material in this chapter is just going to link directly to the book “Happy Git with R” by Jenny Bryan. It’s amazing, amusing, and generally well written. I’m not going to try to do better.
Now that you have a general idea of how git works and why we might use it, let’s talk a bit about GitHub.
5.2 Using Version Control (with RStudio)
The first skill you need to practice is using version control. By using version control from the very beginning, you will learn better habits for programming, but you’ll also get access to a platform for collaboration, hosting your work online, keeping track of features and necessary changes, and more.
So, what does your typical git/GitHub workflow look like? I’ll go through this in (roughly) chronological order. This is based off of a relatively high-level understanding of git - I do not have any idea how it works under the hood, but I’m pretty comfortable with the clone/push/pull/commit/add workflows, and I’ve used a few of the more complicated features (branches, pull requests) on occasion.
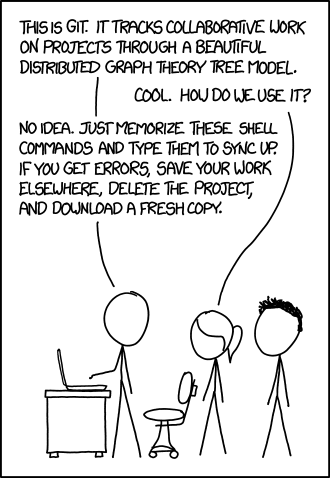
Magic?
The MOST IMPORTANT thing to know about git, other than what it does, is that most people who use it have no idea how it works (and that’s ok)! So if this all seems like arcane magic to you, you’re in good company.
5.2.1 Introduce yourself to git and Authenticate
Make sure you’ve completed the steps in Section 2.3.5.2 before you proceed.
5.2.2 Create a Repository
Repositories are single-project containers. You may have code, documentation, data, TODO lists, and more associated with a project. If you combine a git repository with an RStudio project, you get a very powerful combination that will make your life much easier, allowing you to focus on writing code instead of figuring out where all of your files are for each different project you start.
To create a repository, you can start with your local computer first, or you can start with the online repository first. Both methods are relatively simple, but the options you choose depend on which method you’re using, so be careful to pick one approach (and remember which one you picked!) for each new project.
Let’s suppose you already have a folder on your machine named hello-world-1 (you may want to create this folder now). You’ve created a starter document, say, a text file named README with “hello world” written in it.
If you want, you can use the following R code to set this up:
To create a local git repository, we can go to the terminal (in Mac/Linux) or the git bash shell (in Windows), navigate to our repository folder (not shown, will be different on each computer), and type in
git initAlternately, if you prefer a GUI (graphical user interface) approach, that will work too:
- Open Rstudio
- Project (upper right corner) -> New Project -> Existing Directory. Navigate to the directory.
- (In your new project) Tools -> Project options -> Git/SVN -> select git from the dropdown, initialize new repository. RStudio will need to restart.
- Navigate to your new Git tab on the top right.
The next step is to add our file to the repository.
Using the command line, you can type in git add README (this tells git to track the file) and then commit your changes (enter them into the record) using git commit -m "Add readme file".
Using the GUI, you navigate to the git pane, check the box next to the README file, click the Commit button, write a message (“Add readme file”), and click the commit button.
The final step is to create a corresponding repository on GitHub.
- Navigate to your GitHub profile and make sure you’re logged in.
- Create a new repository using the “New” button.
- Name your repository whatever you want, fill in the description if you want (this can help you later, if you forget what exactly a certain repo was for), and DO NOT add a README, license file, or anything else (if you do, this will quickly become much harder).
You’ll be taken to your empty repository, and git will provide you the lines to paste into your git shell (or terminal) – you can access this within RStudio, as shown below. Paste those lines in, and you’ll be good to go.
Tip
Remember to use the method (HTTPS/SSH) that matches the method you set up for authentication.
In the GitHub-first method, you’ll create a repository in GitHub and then clone it to your local machine (clone = create an exact copy locally).
GUI method:
- Log into GitHub and create a new repository
- Initialize your repository with a README
- Copy the repository location by clicking on the “Code” button on the repo homepage (remember to use the correct protocol - HTTPS or SSH - depending on the authentication method you set up earlier)
- Open RStudio -> Project -> New Project -> From version control. Paste your repository URL into the box. Hit enter.
- Make a change to the README file
- Click commit, then push your changes
- Check that the remote repository (Github) updated
Command line method:
- Log into GitHub and create a new repository
- Initialize your repository with a README
- Copy the repository location by clicking on the “Code” button on the repo homepage
- Navigate to the location you want your repository to live on your machine.
- Clone the repository by using the git shell or terminal:
git clone <your repo url here>. In my case, this looks likegit clone git@github.com:stat850-unl/hello-world-2.git - Make a change to your README file and save the change
- Commit your changes:
git commit -a -m "change readme"(-a = all, that is, any changed file git is already tracking). - Push your changes to the remote (GitHub) repository and check that the repo has updated:
git push
5.2.3 Adding files
git add tells git that you want it to track a particular file.
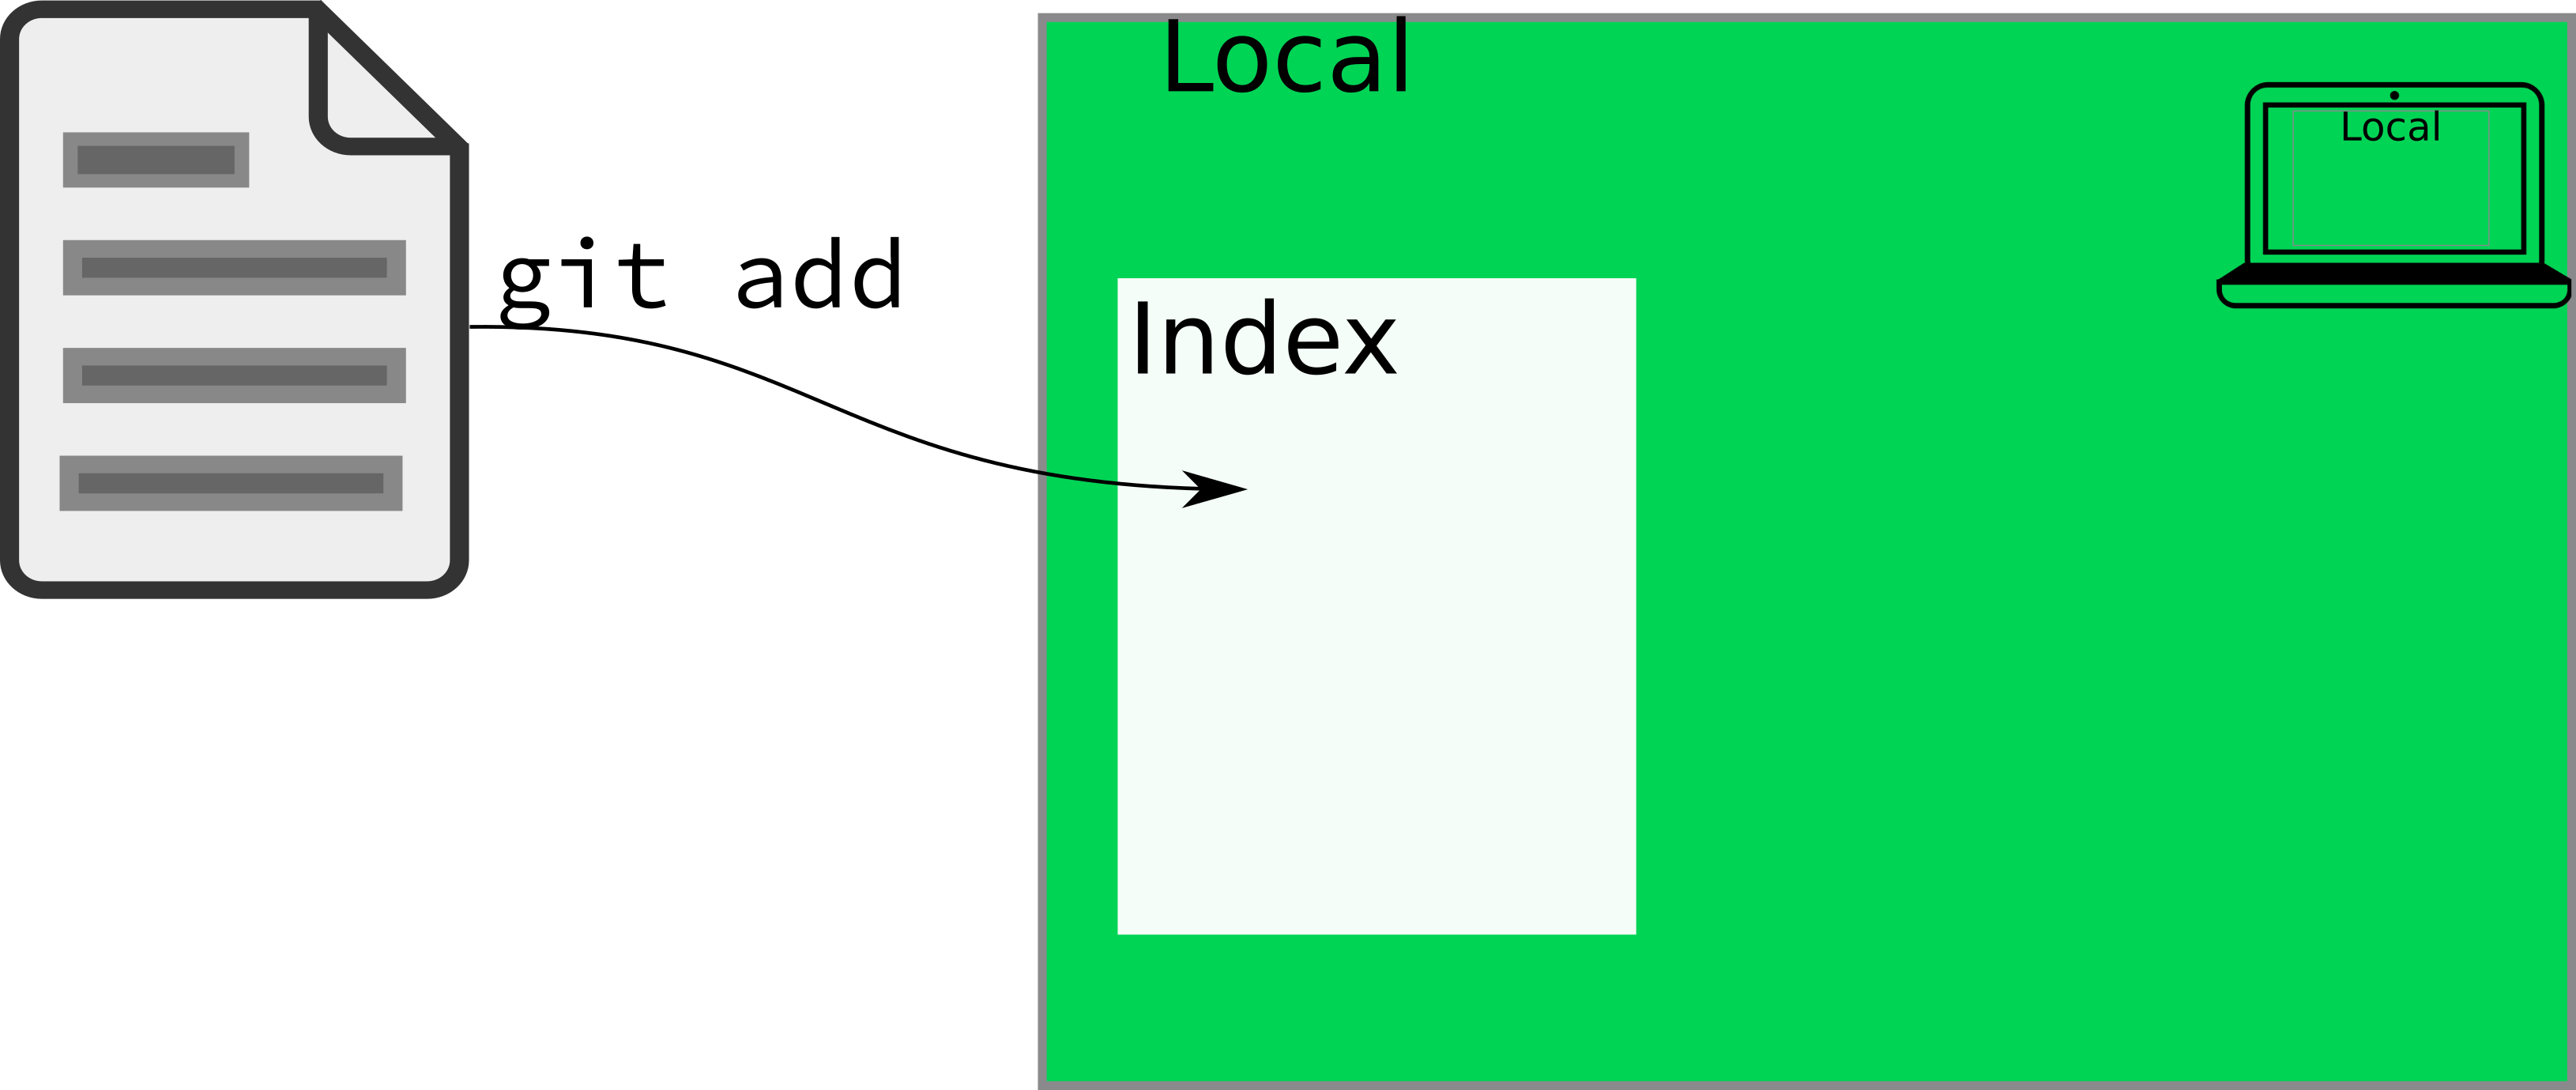
You don’t need to understand exactly what git is doing on the backend, but it is important to know that the actual contents of the file aren’t logged by git add - you have to commit your changes for the contents to change. git add deals solely with the index of files that git “knows about”, and what it thinks belongs in each commit.
If you use the RStudio GUI for your git interface, you generally won’t have to do much with git add; it’s (approximately) equivalent to clicking the check box3.
5.2.3.1 What files should I add to git?
Git is built for tracking text files. It will (begrudgingly) deal with small binary files (e.g. images, PDFs) without complaining too much, but it is NOT meant for storing large files, and GitHub will not allow you to push anything that has a file larger than 100MB4. Larger files can be handled with git-lfs (large file storage), but storing large files online is not something GitHub provides for free.
You should only add a file to git if you created it by hand. If you compiled the result, that should not be in the git repository under normal conditions5.
You should also be cautious about adding files like .Rprog, .directory, .DS_Store, etc. These files are used by your operating system or by RStudio, and pushing them may cause problems for your collaborators (if you’re collaborating). Tracking changes to these files also doesn’t really do much good. This is why I recommend that you run usethis::git_vaccinate(), which tells git to ignore these files for every repository on a machine.
While you are learning, you should only add and commit files which you created manually and consciously want to track. You do not need to commit both a quarto .qmd file and the .html file it generates – keeping only the quarto file is enough. You do need to make sure to commit any pictures or files referenced in the files you create, though (as long as they’re relatively small in size and not confidential), because otherwise, your project won’t be self-contained.
5.2.4 Staging your changes
In RStudio, when you check a box next to the file name in the git tab, you are effectively adding the file (if it is not already added) AND staging all of the changes you’ve made to the file. In practice, the shell command git add will both add and stage all of the changes to any given file, but it is also useful in some cases to stage only certain lines from a file.
More formally, staging is saying “I’d like these changes to be added to the current version, I think”. Before you commit your changes, you have to first stage them. You can think of this like going to the grocery store: you have items in your cart, but you can put them back at any point before checkout. Staging changes is like adding items to your cart; committing those changes is like checking out.
Individually staging lines of a file is most useful in situations where you’ve made changes which should be part of multiple commits. To stage individual lines of a file, you can use git add -i at the command line, or you can attempt to use RStudio’s “stage selection” interface. Both will work, though git can’t always separate changes quite as finely as you might want (and as a result, RStudio’s interface sometimes seems unresponsive, even though the underlying issue is with what git can do).
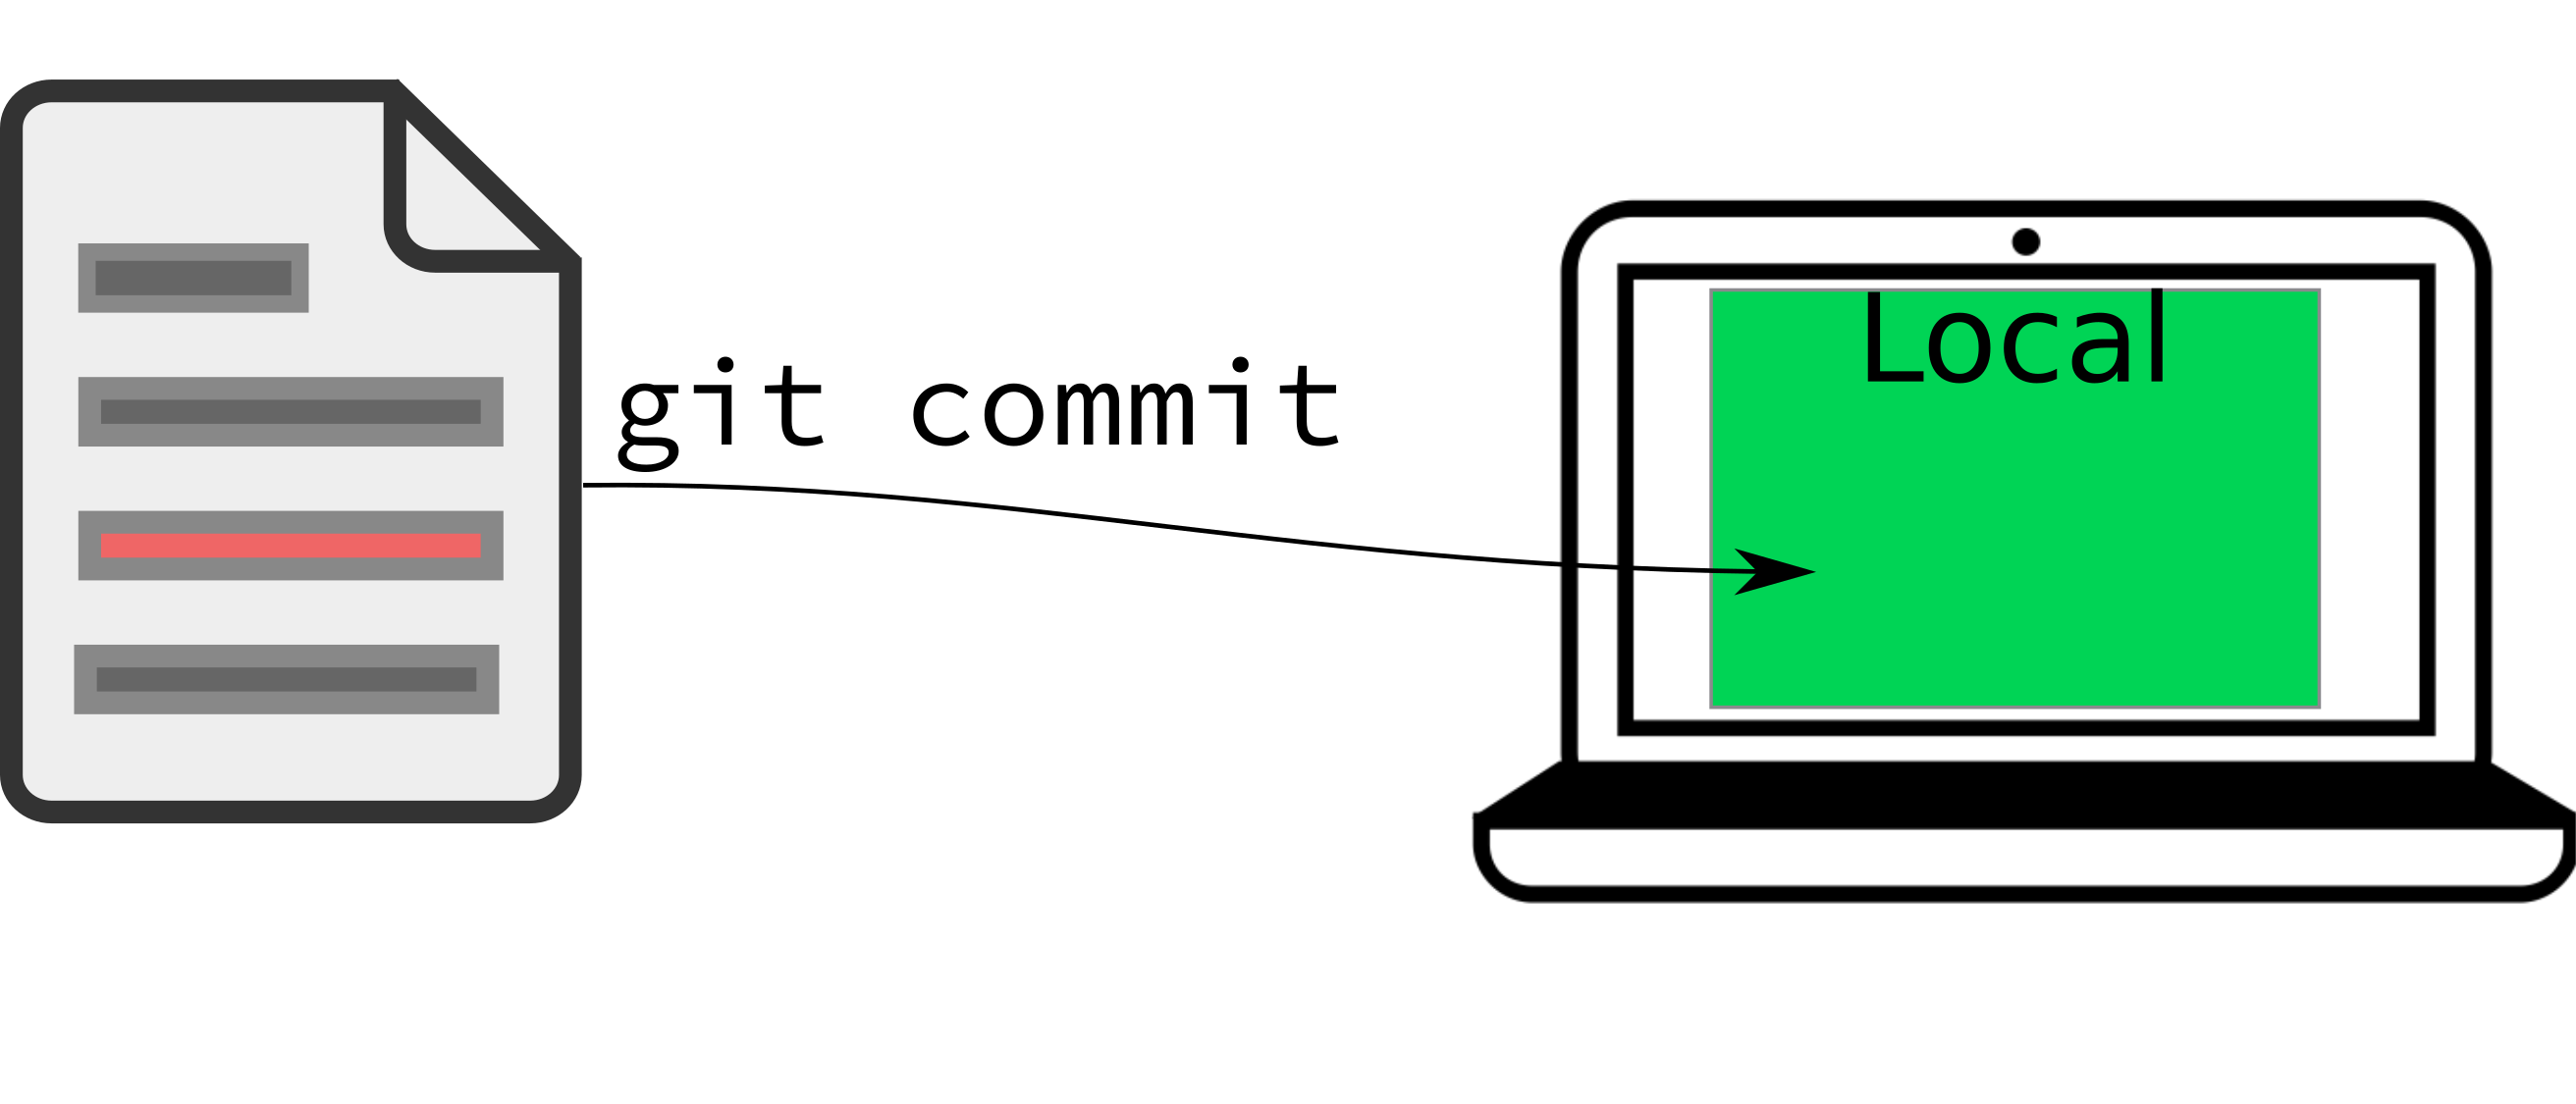
5.2.5 Committing your changes
A git commit is the equivalent of a log entry - it tells git to record the state of the file, along with a message about what that state means. On the back end, git will save a copy of the file in its current state to its cache.
In general, you want your commit message to be relatively short, but also informative. The best way to do this is to commit small blocks of changes. Work to commit every time you’ve accomplished a small task. This will do two things:
- You’ll have small, bite-sized changes that are briefly described to serve as a record of what you’ve done (and what still needs doing)
- When you mess up (or end up in a merge conflict) you will have a much easier time pinpointing the spot where things went bad, what code was there before, and (because you have nice, descriptive commit messages) how the error occurred.
5.2.6 Pushing and Pulling
When you’re working alone, you generally won’t need to worry about having to update your local copy of the repository (unless you’re using multiple machines). However, statistics is collaborative, and one of the most powerful parts of git is that you can use it to keep track of changes when multiple people are working on the same document.
Caution
If you are working collaboratively and you and your collaborator are working on the same file, git will be able to resolve the change you make SO LONG AS YOU’RE NOT EDITING THE SAME LINE. Git works based on lines of text - it detects when there is a change in any line of a text document.
For this reason, I find it makes my life easier to put each sentence on a separate line, so that I can tweak things with fewer merge conflicts. Merge conflicts aren’t a huge deal, but they slow the workflow down, and are best avoided where possible. In both quarto and LaTeX, a single line break isn’t seen as a new paragraph, so this convention doesn’t affect the rendered document at all, and it makes dealing with version control much easier.
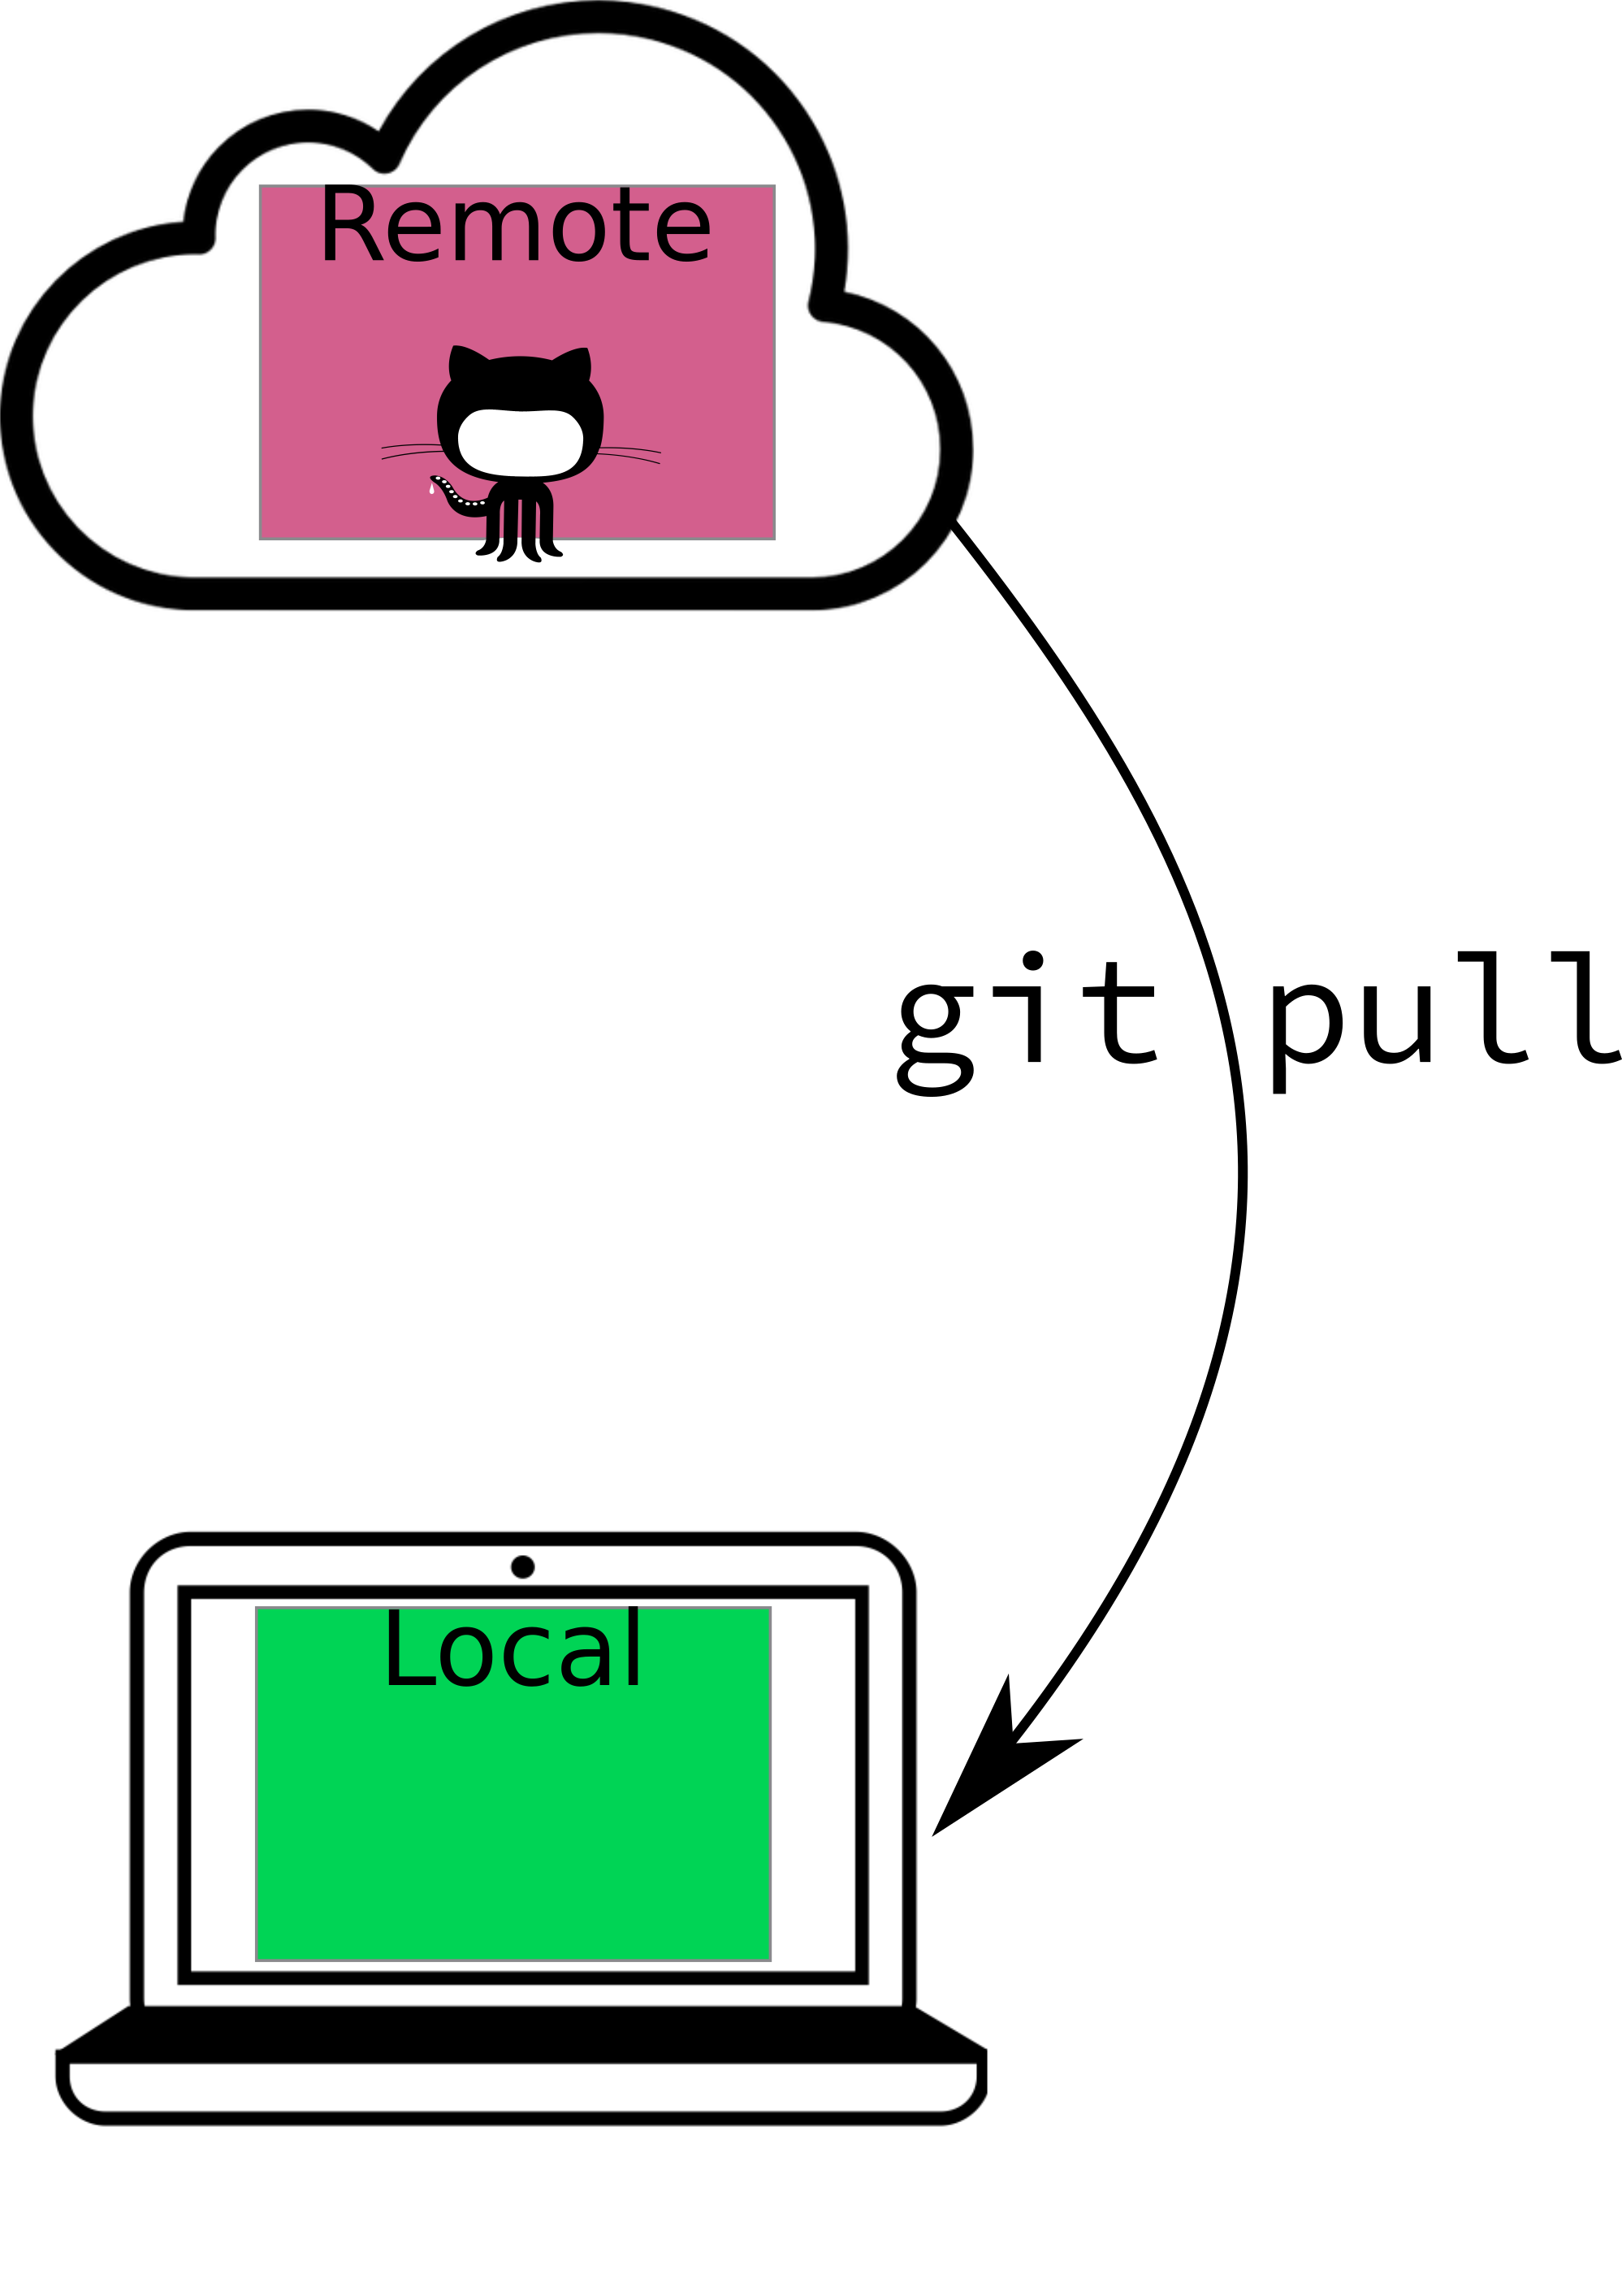
Pulling describes the process of updating your local copy of the repository (the copy on your computer) with the files that are “in the cloud” (on GitHub). git pull (or using the Pull button in RStudio) will perform this update for you. If you are working with collaborators in real time, it is good practice to pull, commit, and push often, because this vastly reduces the merge conflict potential (and the scope of any conflicts that do pop up).
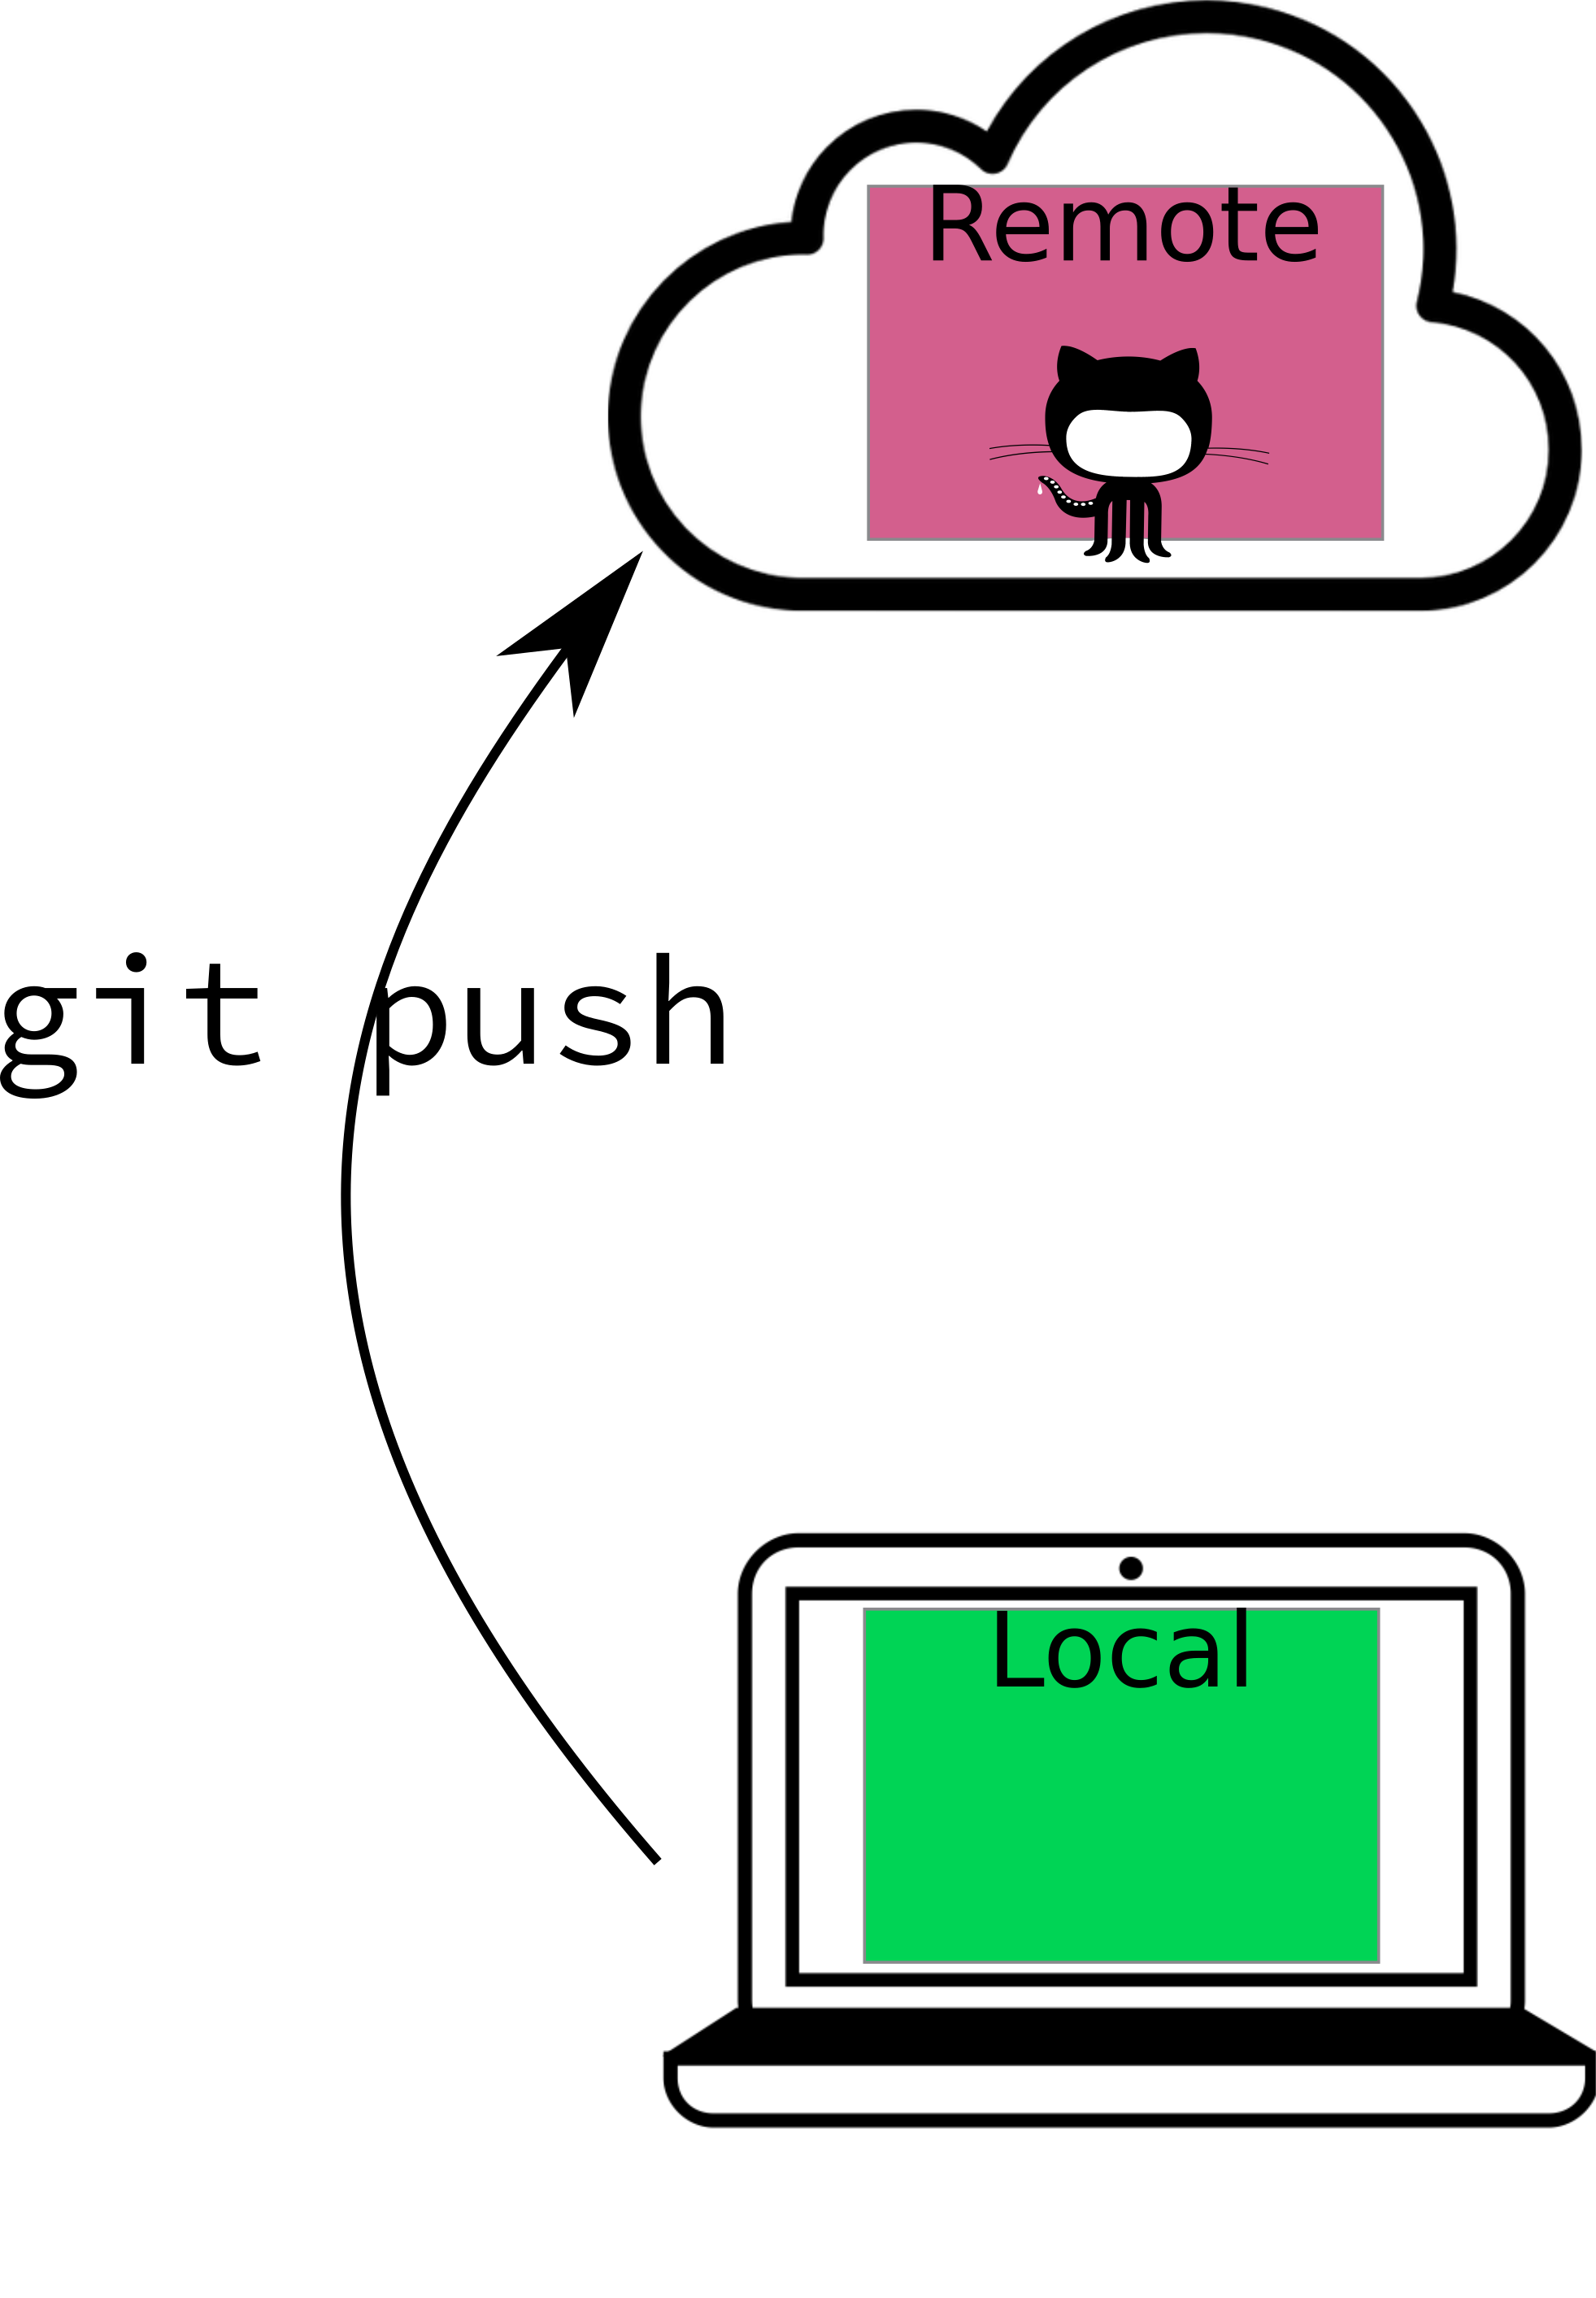
Pushing describes the process of updating the copy of the repository on another machine (e.g. on GitHub) so that it has the most recent changes you’ve made to your machine.
In general, your workflow will be
- Clone the project or create a new repository
- Make some changes
- Stage the changes with git add
- Commit the changes with git commit
- Pull any changes from the remote repository
- Resolve any merge conflicts
- Push the changes (and merged files) with git push
If you’re working alone, steps 5 and 6 are not likely to be necessary, but it is good practice to just pull before you push anyways.
5.3 References
[1]
J. Bryan, J. Hester, and {The Stat 545 TAs}, Happy git and GitHub for the useR. 2021 [Online]. Available: https://happygitwithr.com/. [Accessed: May 09, 2022]
relatively speaking↩︎
With exceptions – there are ways to suppress the ability to see every commit ever made to a git repository using tools like
git squash, and these tools are useful in cases where you want to simplify the repository’s structure.↩︎Technically, the check box is referred to as ‘staging’ your files, however, to accomplish the same thing at the command line, I usually use
git add. From a user-level perspective, it’s equivalent, though I’m sure there’s probably a difference somewhere under the hood.↩︎Yes, I’m seriously pushing it with this book; several of the datasets are ~30 MB↩︎
There are exceptions to this rule – this book is hosted on GitHub, which means I’ve pushed the compiled book to the GitHub repository↩︎